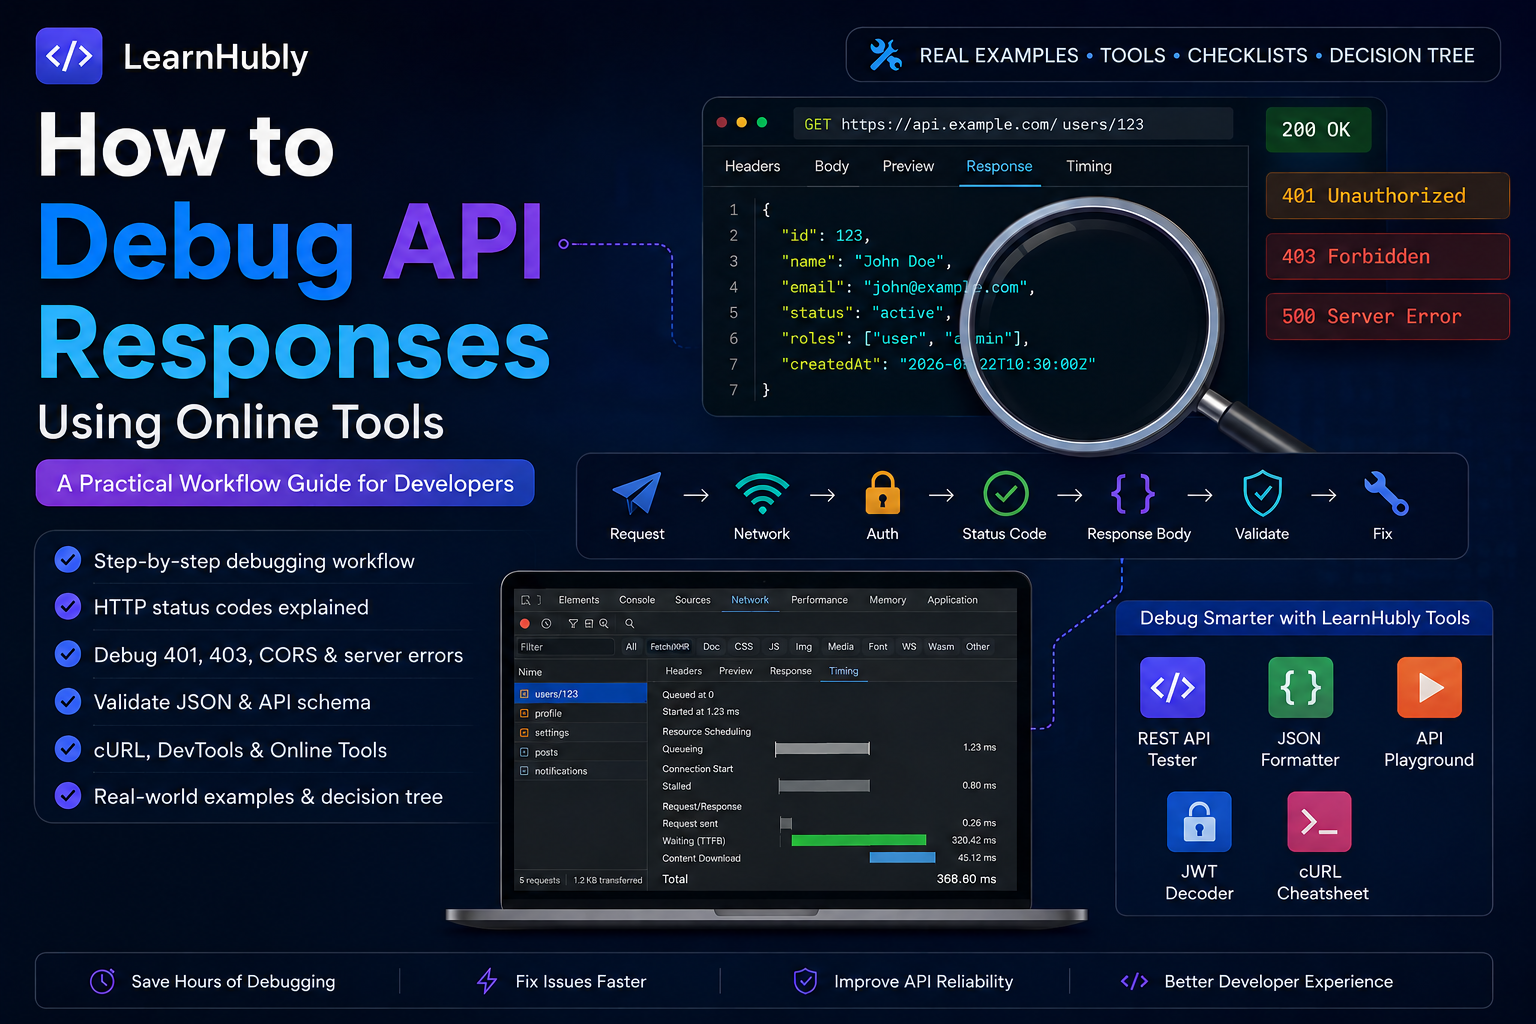
Most API debugging guides teach you how to read a JSON response. This one teaches you how to think about API failures — which layer to check first, which clue tells you where to look next, and what tools to use at each step. After fifteen years debugging APIs across payments, logistics, healthcare, and fintech systems, the workflow here is what I actually use. Not the theory. The actual process.
1. What Is API Response Debugging?
API response debugging is the systematic process of tracing a failed or incorrect API interaction from the client request through the network, authentication layer, server processing, and response body — to find the exact point where something went wrong.
The word "systematic" matters. Debugging without a system means guessing — trying random changes until something works, which takes ten times longer and leaves you without confidence that you found the real cause. Systematic debugging means each step narrows the problem space until only one explanation is left.
The layers where API problems actually live:
- The request itself — wrong URL, missing header, malformed body
- The network — DNS failure, TLS handshake issue, timeout, CORS block
- Authentication — missing token, expired token, wrong format, wrong scope
- The server — bug in business logic, database error, dependency failure
- The response body — wrong data, wrong type, missing field, schema mismatch
- Performance — the request succeeds but takes too long
The HTTP status code is your first clue about which layer to investigate. Getting good at reading it literally is the fastest way to skip two or three wrong hypotheses.
2. Anatomy of an API Request and Response
Before debugging efficiently, you need to know exactly what you are looking at. An HTTP interaction has two sides — and every field on both sides can be a source of information or a source of the bug.
REQUEST → WHAT YOUR CLIENT SENDS
RESPONSE → WHAT THE SERVER RETURNS
Try it yourself: The LearnHubly REST API Tester shows you the full request and response anatomy — status code, all headers, and formatted response body — in one view. No Postman needed, nothing to install, runs in the browser.
3. API Debugging Checklist — Run This Before You Do Anything Else
When an API call fails, resist the urge to start changing code immediately. Check these first. In my experience, 70% of API failures are caught at step 1 or 2.
- Check the HTTP status code — read it literally, not as a generic "error" Always first
- Check the full response body — not just the first field. Error detail is often buried. Always
- Check the request URL — typos, wrong version (v1 vs v2), wrong ID, trailing slash Request layer
- Check the request method — POSTing to a GET endpoint, PATCHing instead of PUT Request layer
- Check the Authorization header — exists, correct format, not expired Auth layer
- Check Content-Type header — must be
application/jsonfor JSON APIs Request layer - Check for CORS errors — look in browser console, not the network response Network layer
- Reproduce with cURL — removes client-side code as a variable Isolation
- Compare with a working request — diff headers and body between working and failing calls Comparison
- Check the server logs — the real error is almost always there Server layer
4. How to Debug APIs Using Browser DevTools
Browser DevTools Network tab is the most powerful API debugging tool available for web developers — and most people use 10% of its capability. Here is how to use it properly.
Finding the failing request
Browser DevTools — keyboard shortcuts and filters
Open DevTools:     F12 (Windows/Linux)   or   Cmd+Option+I (macOS)
Network tab:       Click "Network" or press Ctrl+Shift+I then click Network
Filter by type:    Click "Fetch/XHR" to show only API calls, not images/scripts
Filter by name:    Type the endpoint path in the filter box (e.g. "users" or "api")
Preserve log:      ✓ Check "Preserve log" before reproducing — so requests survive page reload

# Once you find the failing request:
Click the request → four tabs appear:
  Headers   → request and response headers + status code
  Payload   → request body (what you sent)
  Response  → raw response body
  Timing    → detailed timing breakdown (TTFB, download, etc.)
What to look at in each tab
- Headers tab: Find the status code at the top. Check "Request Headers" for Authorization, Content-Type. Check "Response Headers" for CORS headers, error clues in custom headers.
- Payload tab: See exactly what your client sent. This reveals incorrect JSON, missing fields, and wrong data types in the request body.
- Response tab: The raw response. Right-click → Copy response → paste into a formatter for large JSON. Look for error messages nested inside success-looking wrappers.
- Timing tab: TTFB (Time to First Byte) is server processing time. "Content Download" is response size + network speed. High TTFB = slow server. High download = large payload.
A developer came to me with a "broken search API." The endpoint was returning 200 OK, the frontend was showing an empty result list, and the developer had been debugging for three hours. I opened DevTools, clicked the Network request, and looked at the Response tab. Buried in the response was: "error": "search index temporarily unavailable" inside a wrapper object the frontend was not checking. The API was returning 200 OK with an error inside — an antipattern I have written about separately. The fix took five minutes. The debugging took three hours because nobody looked at the full response body first.
5. Understanding HTTP Status Codes in Debugging Context
Status codes are not error numbers. They are diagnostic signals. Each one tells you where to look next.
STATUS CODE → WHERE TO LOOK NEXT
Some APIs return HTTP 200 for every response — including errors — and put a success flag in the body. This breaks all status-code-based monitoring and debugging. If a 200 response is behaving unexpectedly, look at the full body for error objects, success flags, or empty data arrays that indicate a silent failure.
6. Debugging Request Headers and Parameters
The most common request-layer bugs I see fall into five categories. Every one of them is visible in DevTools Payload and Headers tabs if you know what to look for.
Missing or wrong Content-Type
Most common request header mistakes
# Wrong — sending form data to a JSON API
Content-Type: application/x-www-form-urlencoded
# Server cannot parse the JSON body → 400 or 415

# Correct for JSON APIs
Content-Type: application/json
Accept: application/json

# Wrong — forgetting Content-Type entirely on POST/PUT/PATCH
# Many servers default to form data parsing → body is not read as JSON
Query parameter encoding problems
URL parameter issues that cause silent failures
# Wrong — unencoded special characters break the query string
GET /api/search?name=Priya Singh&role=admin+developer
# The space breaks the URL, & is interpreted as parameter separator

# Correct — percent-encode special characters
GET /api/search?name=Priya%20Singh&role=admin%2Bdeveloper

# Double encoding — spaces become %2520 instead of %20
# Result: server receives %20 as literal string, not as a space
GET /api/search?name=Priya%2520Singh
API versioning mismatch
Version mismatch — one of the most silent failure modes
# Old client calling v1 endpoint that was deprecated
GET https://api.example.com/v1/users/42     → 410 Gone or 404

# New endpoint schema (v2) returned to old client parsing v1 schema
GET https://api.example.com/v2/users/42     → 200 but fields renamed
# "user_id" in v1 became "id" in v2 → client code breaks silently
7. Debugging Authentication — 401 vs 403 and What Each Means for Your Debug Path
Authentication failures are the most misdiagnosed API errors because developers often treat 401 and 403 as interchangeable "auth error" responses and try the same fixes for both. They are different problems with different solutions.
| Status | Meaning | What to check | Fix direction |
|---|---|---|---|
| 401 | No valid credentials — server does not know who you are | Does the Authorization header exist? Bearer prefix? Token expired? Wrong token? | Provide or refresh the token |
| 403 | Valid credentials, insufficient permissions | Does the user have the required role or scope? Is this their own resource? | Fix permissions — re-authenticating will not help |
Diagnosing 401 errors step by step
401 debugging — check in this order
# 1. Does the Authorization header exist in the request?
# Open DevTools → Network → Click request → Headers tab
# Look for: Authorization: Bearer eyJ...

# 2. Is the token format correct?
Authorization: Bearer {token}     ← correct
Authorization: {token}            ← missing "Bearer " prefix
Authorization: JWT {token}        ← wrong scheme for Bearer token
authorization: Bearer {token}     ← lowercase (usually fine, but check)

# 3. Is the token expired?
# Decode the JWT payload and check the "exp" claim
# exp is a Unix timestamp — compare with current time

# 4. Is the token being sent correctly in the request?
# Some clients accidentally URL-encode the header value
# Some clients strip the token after a redirect (301/302)

# 5. Is the token being accepted by this specific API?
# Some APIs use separate tokens for different scopes
# Your user token may not be valid for the admin APIDecode your JWT token and inspect the exp, sub, iss, and aud claims instantly using LearnHubly's JWT Decoder. Paste the token and see exactly what claims it contains and when it expires — directly in the browser, nothing leaves your machine.
Diagnosing 403 errors
403 debugging — what to check when the token is valid
# The user authenticated successfully but cannot access this resource.
# Re-sending the same token will give the same 403.

# Check 1: Does the user have the required role?
# Decode the JWT → look for "roles", "scope", or "permissions" claims
# Required: ["admin"]   Actual: ["user"] → 403 is correct

# Check 2: Is this a resource ownership check?
# Accessing /users/99/orders when you are user 42 → 403 (BOLA check)

# Check 3: Does the token have the required OAuth2 scope?
# Token scope: "read:profile"   Required: "write:profile" → 403

# Check 4: Is the user's account in the right state?
# Account suspended, email unverified, MFA not completed → 403What happened
A mobile client integration team reported "authentication is broken" on our payments API. They were getting 403 errors for every request. They had been trying to refresh tokens and re-authenticate for two hours.
What caused it
The mobile team had generated API keys through our developer portal during a trial period. That trial period had expired. The API keys were still valid — authentication succeeded — but the account had been downgraded to a tier that did not have access to the payments endpoint. The API was correctly returning 403 (authenticated, not authorised). The error message said "access denied" with no additional context.
What I diagnosed and changed
I decoded their JWT and saw the account tier in the claims — it showed "trial_expired". The 403 was correct but the error response had no actionable information. We updated the error response to include the reason: "reason": "account_tier_insufficient", "requiredTier": "standard", "currentTier": "trial_expired". Two lines of additional context would have saved two hours of debugging.
Recommendation
When your API returns 403, include a machine-readable reason code in the response body. "Access denied" tells the client nothing actionable. "account_tier_insufficient" tells them exactly what to fix.
8. Debugging CORS Errors
CORS errors are browser-only. They do not happen in cURL, Postman, or server-to-server calls. They appear in the browser console — not in the Network tab response — because the browser is blocking the request before the response can be read.
Browser console — what CORS errors look like
# Typical CORS error message
Access to fetch at 'https://api.example.com/users' from origin
'https://yourapp.com' has been blocked by CORS policy:
No 'Access-Control-Allow-Origin' header is present on the requested resource.

# What this means:
# The server did not send Access-Control-Allow-Origin: https://yourapp.com
# The browser blocked the response from being read by your JavaScript
Diagnosing which CORS problem you have
CORS diagnostic flow
# Step 1: Check if the server sends CORS headers at all
# In DevTools Network → click the request → Response Headers
# Look for: Access-Control-Allow-Origin
# If missing: the server has not configured CORS at all

# Step 2: Check if the origin is explicitly allowed
Access-Control-Allow-Origin: *                    # allows all origins (public APIs only)
Access-Control-Allow-Origin: https://yourapp.com  # allows specific origin
# If your origin is not in the header → CORS blocked

# Step 3: For authenticated requests, check credentials
Access-Control-Allow-Credentials: true            # required for cookies/auth headers
# Note: when Allow-Credentials is true, Allow-Origin cannot be *
# It must be a specific origin

# Step 4: Check if the preflight OPTIONS request is failing
# Authenticated requests with custom headers send an OPTIONS preflight first
# Open Network filter → look for OPTIONS request to same URL
# If OPTIONS fails → the main request will never be sentCORS errors are always fixed on the server, not the client. The server must add the correct headers to its responses. If you cannot modify the server, you need a proxy. The browser CORS block is a security feature — you cannot disable it client-side in production (only in development with browser flags, which is not a solution).
9. Debugging JSON and Data-Type Problems
The most insidious API bugs are data-type mismatches — requests that succeed with 200 OK but produce wrong behaviour downstream. A field that should be a number is returned as a string. A required field is null. An array contains a single item instead of being wrapped. These bugs are invisible until they hit business logic that depends on the type.
Common JSON data-type problems and their symptoms
// Problem 1: Number returned as string
{ "userId": "42" }    // ← string
{ "userId": 42 }      // ← number (correct)
// Symptom: arithmetic operations return NaN, or strict equality check fails

// Problem 2: Null instead of object
{ "address": null }   // ← null
{ "address": { "city": "Mumbai" } }  // ← expected
// Symptom: TypeError: Cannot read properties of null (reading 'city')

// Problem 3: Single object instead of array
{ "results": { "id": 1, "name": "Item" } }   // ← object
{ "results": [{ "id": 1, "name": "Item" }] } // ← array (correct)
// Symptom: .map() is not a function

// Problem 4: Inconsistent field naming
{ "user_id": 42 }     // ← snake_case
{ "userId": 42 }      // ← camelCase
// Same API returns both depending on the endpoint or versionWhen an API response looks wrong but you cannot pinpoint why, paste it into the LearnHubly JSON Formatter to format and validate it. The formatter highlights structure, data types, and syntax errors — making type mismatches and null values immediately visible in a colour-coded tree view.
10. Validating API Responses with JSON Schema
Formatting a response is the first step. Validating it against a contract is the second — and it catches errors that visual inspection misses.
JSON Schema defines the shape of a valid JSON document: which fields are required, what type each field must be, and what constraints apply. When an API response is validated against its schema, type mismatches, missing required fields, and constraint violations are caught immediately — not hours later when a frontend component crashes.
JSON Schema — validating a user API response
// Schema definition
{
  "$schema": "https://json-schema.org/draft/2020-12/schema",
  "type": "object",
  "required": ["id", "name", "email", "active"],
  "properties": {
    "id":     { "type": "integer", "minimum": 1 },
    "name":   { "type": "string", "minLength": 1 },
    "email":  { "type": "string", "format": "email" },
    "active": { "type": "boolean" },
    "roles":  { "type": "array", "items": { "type": "string" } }
  },
  "additionalProperties": false
}

// API response — with a bug
{
  "id": "42",          ← VALIDATION FAIL: string, not integer
  "name": "Priya",
  "email": "priya@",   ← VALIDATION FAIL: not a valid email format
  "active": true
}

// Without schema validation: the bug reaches the frontend and crashes there
// With schema validation: caught immediately when the API returns the responseIf your API has an OpenAPI/Swagger spec, tools like dredd, prism, or spectral can validate that API responses match the spec on every CI run. This catches breaking changes before they are deployed — not when a frontend developer reports a bug.
11. Debugging Slow API Responses
A slow API is a failing API — users leave, retries pile up, and cascading timeouts can bring down dependent services. The DevTools Timing tab gives you the specific numbers to diagnose which layer is slow.
DevTools Timing tab — understanding each phase
Queued:            Request was waiting to be sent (too many open connections)
Stalled:           Request could not be sent immediately (proxy, SSL negotiation)
DNS Lookup:        DNS resolution time (high = DNS problem, not API problem)
Initial connection: TCP handshake time
SSL:               TLS handshake time (one-time cost on first connection)
Request sent:      Time to send the request to the server (ms — usually fast)
TTFB:              Time to First Byte — SERVER PROCESSING TIME
                   This is where your application, database, and business logic run.
                   High TTFB = slow server, slow database, slow upstream dependency.
Content Download:  Response size ÷ network bandwidth
                   High download time = large payload or slow network

# Diagnostic rules:
# TTFB > 500ms: investigate server-side processing
# TTFB < 100ms, download slow: response payload is too large
# Stalled high: too many concurrent requests, check connection pooling
# DNS lookup high: DNS caching issue, consider switching DNS resolver
Typical causes of high TTFB
- Slow database query — missing index, N+1 query problem, full table scan. Check slow query logs.
- Upstream dependency timeout — a third-party API your service calls is slow. Check the timeout configuration and consider caching its responses.
- Connection pool exhaustion — all database connections are in use. Requests queue waiting for one to become available. Symptom: TTFB spikes under load.
- No caching on expensive reads — a computation that could be cached is running on every request. Implement Redis caching for stable data.
- JVM garbage collection pause — Java services can pause for GC. Symptom: intermittent latency spikes, not consistent slowness.
When the API is slow but the application looks healthy
Not every slow response is caused by the API application itself. In production, a request can pass through a CDN, load balancer, API gateway, reverse proxy, service mesh, and one or more downstream services before the response reaches the client. If the application logs show 80 ms but the browser reports 900 ms, investigate the layers between the client and the application instead of immediately optimizing application code.
Client → CDN → Load Balancer → API Gateway → Service → Database / Upstream API

Browser:        900 ms
Gateway:        820 ms
Application:     80 ms
Database:        25 ms

Conclusion:
The application is not the main bottleneck.
Investigate gateway/proxy/network overhead or an upstream hop.
Check caches before assuming the database is wrong
A stale or unexpectedly cached response can look like a database or business-logic bug. Compare cache-related response headers such as Age, Cache-Control, ETag, and Last-Modified. Then repeat the request with a known cache-busting strategy when appropriate. If the response changes after bypassing the cache, the next debugging target is the caching layer, not the database.
Separate server time from network time
When diagnosing latency, record both the client's total duration and the server-side processing duration. A large difference points toward DNS, TLS, connection setup, proxies, gateways, network transfer, or an upstream dependency. This simple comparison prevents a common mistake: optimizing backend code when most of the delay is outside the application.
12. Debugging APIs with cURL — The Essential Isolation Technique
cURL is the single most useful API debugging tool that is not a browser. When an API call fails in your application, reproducing it in cURL removes the entire client-side codebase as a variable. If it works in cURL but fails in your app — the bug is in your code. If it fails in cURL too — the bug is in the API or your credentials.
cURL · the debugging commands I use daily
# Basic GET with auth token
curl -X GET "https://api.example.com/users/42" \
  -H "Authorization: Bearer YOUR_TOKEN_HERE" \
  -H "Accept: application/json" \
  -v    # -v shows request and response headers — essential for debugging

# POST with JSON body
curl -X POST "https://api.example.com/users" \
  -H "Authorization: Bearer YOUR_TOKEN_HERE" \
  -H "Content-Type: application/json" \
  -d '{"name": "Priya Singh", "email": "priya@example.com"}' \
  -v

# See CORS preflight — simulate what a browser sends
curl -X OPTIONS "https://api.example.com/users" \
  -H "Origin: https://yourapp.com" \
  -H "Access-Control-Request-Method: POST" \
  -H "Access-Control-Request-Headers: Authorization, Content-Type" \
  -v    # Look for Access-Control-Allow-Origin in response headers

# Follow redirects and see the final URL
curl -L -v "https://api.example.com/users" -H "Authorization: Bearer TOKEN"
# -L follows redirects — useful when auth headers get stripped on redirect

# Measure timing — diagnose slow APIs from the command line
curl -o /dev/null -s -w "\
  DNS lookup:     %{time_namelookup}s\n\
  TCP connect:    %{time_connect}s\n\
  TLS handshake:  %{time_appconnect}s\n\
  TTFB:           %{time_starttransfer}s\n\
  Total:          %{time_total}s\n\
  Response size:  %{size_download} bytes\n" \
  "https://api.example.com/users/42" \
  -H "Authorization: Bearer TOKEN"

# Save response to file and inspect
curl -X GET "https://api.example.com/large-response" \
  -H "Authorization: Bearer TOKEN" \
-o response.json && cat response.json | python3 -m json.toolThe LearnHubly cURL Cheatsheet has every cURL flag with examples — authentication headers, file uploads, custom methods, timing, redirects, and SSL options. Searchable and copy-ready.
13. Real-World API Debugging Examples
Example 1: The search that returned no results (but should have)
Symptom: Search endpoint returns {"results": [], "total": 0} for queries that should return data.
Debug path: 200 status → check request payload in DevTools → found the query parameter was named q but the client was sending query → API silently ignored the unknown parameter and returned all results filtered by empty string → empty array.
Fix: Corrected parameter name. Added server-side warning logging for unrecognised query parameters.
Example 2: The upload that worked sometimes
Symptom: File upload endpoint returns 413 Request Entity Too Large for approximately 30% of uploads, but not consistently for the same files.
Debug path: Reproduced with cURL — 413 consistently on files over 1MB. DevTools showed the request being cut off mid-upload. Found that a new NGINX configuration had been deployed with client_max_body_size 1m — default is 1MB. Previous config had this set to 50MB. The 30% figure matched the percentage of user uploads over 1MB.
Fix: Restored client_max_body_size 50m in NGINX config. Added a client-side file size check to give a helpful error before the upload attempt.
Example 3: The intermittent 500
Symptom: A product listing endpoint returns 500 for approximately 2% of requests, no pattern in which products or which users.
Debug path: Server logs showed NullPointerException in the discount calculation. Some products had "discount": null in the database; the code was calling discount.getPercentage() without a null check. The 2% matched the percentage of products with null discounts.
Fix: Added null check before accessing discount fields. Added a test case for products with null discounts. Changed 500 to a more specific error to make future debugging faster.
Production debugging: use a correlation ID
When an API works locally but fails intermittently in production, the fastest path is usually to trace one request across the system. If your API returns a request or correlation ID, copy it from the response headers and use that exact value when searching application logs, gateway logs, and downstream service logs.
HTTP/1.1 500 Internal Server Error
X-Request-ID: 8f2c1a7e-42d1-4a91-bc8d-91d5e6a7c123

Debug sequence:
1. Capture the exact request timestamp.
2. Record the X-Request-ID / correlation ID.
3. Search the API service logs.
4. Follow the ID into downstream services.
5. Check database or third-party dependency logs.
6. Compare the failing request with a successful request.
This is especially useful for intermittent 500 errors, timeout issues, and failures that cannot be reproduced from a developer machine. A single traceable request is usually more valuable than repeatedly retrying the same call without collecting evidence.
Compare a working request with a failing request
When two requests look identical but behave differently, compare them field by field rather than relying on what the UI displays. Check the URL, HTTP method, query parameters, headers, authentication scope, cookies, request body, content type, and API version. A single difference — such as a missing header, different tenant ID, expired token, or changed filter — can explain the entire failure.
Do not ask only “Why did this request fail?” Ask “What is different between the failing request and the last known-good request?” That comparison often reduces a large production problem to one changed value.
14. Common API Debugging Mistakes
- Changing code before understanding the problem. The most common debugging mistake. Read the status code and the response body fully first. Most API failures are diagnosed in 30 seconds with the right information.
- Not looking at the full response body. Error detail is frequently buried inside success-looking response wrappers. Always expand and read the complete response.
- Treating 401 and 403 as the same error. Different causes, different fixes. See Section 7.
- Not reproducing with cURL. If you cannot reproduce it with cURL using the same headers and body, the bug is in your client code, not the API.
- Debugging CORS on the client side. CORS errors are always fixed on the server. No client-side code change will fix a missing Access-Control-Allow-Origin header.
- Assuming the minified JSON response is the same as what the server intended. Format it first. Hidden nulls, wrong types, and extra nesting are invisible in minified JSON.
- Not checking for API version mismatches. The client and server may be running different API versions with different response schemas. Always verify both.
- Ignoring response headers. CORS headers, Retry-After, X-RateLimit-Remaining, and custom error headers often contain the exact information you need.
Do not leak credentials while debugging
Debugging often requires copying requests into terminals, tickets, screenshots, or team chats. Never publish real access tokens, refresh tokens, API keys, passwords, cookies, or personally identifiable customer data. Replace secrets with placeholders before sharing a request.
# Safe to share
Authorization: Bearer YOUR_TOKEN
X-API-Key: YOUR_API_KEY

# Do not paste real production credentials
Authorization: Bearer eyJhbGciOi...
Cookie: session=real-production-session...
Also be careful with browser screenshots: DevTools can expose authorization headers, cookies, request payloads, and customer data. Redact sensitive values before attaching debugging evidence to an issue or support ticket.
15. API Debugging Decision Tree
When an API call fails, run through this tree in order:
16. Best Practices Checklist — Debugging APIs Systematically
- Read the status code first — it tells you which layer to investigate Always first
- Read the full response body — format it, expand it, look for nested error objects Always
- Reproduce with cURL — removes your client code as a variable before debugging further Isolation
- Check request headers in DevTools Payload tab — not what you think you sent, what actually went out Request layer
- Check browser console for CORS errors — they appear there, not in the Network response Network layer
- Decode your JWT and check exp, sub, iss claims — for any 401 that seems wrong Auth layer
- Validate the response against JSON Schema — type mismatches are invisible without schema validation Response layer
- Check DevTools Timing tab TTFB — for any slow API request, TTFB isolates server vs network Performance
- Compare working vs failing requests — diff the headers and bodies side by side Comparison
- Check server logs with the trace ID — the real error detail is always there Server layer
- Never start with code changes — understand the problem completely first Process
17. Frequently Asked Questions
The HTTP status code, read literally. 400 = malformed request. 401 = no authentication. 403 = authenticated but not authorised. 404 = wrong URL. 500 = server bug. The status code tells you which layer to investigate next. If you get 200 but something is wrong, read the full response body — error objects masquerading as success are a common anti-pattern in older APIs.
CORS errors happen when a browser blocks a request from one origin to another because the server has not explicitly allowed it. The error appears in the browser console, not the Network tab. The fix is always on the server — add the correct Access-Control-Allow-Origin header, handle OPTIONS preflight requests, and for authenticated requests set Access-Control-Allow-Credentials: true with a specific origin (not wildcard). CORS is browser-only — it does not affect cURL or server-to-server calls.
401 means no valid credentials were provided — the server does not know who you are. The client should authenticate and retry. 403 means the credentials are valid but the user does not have permission for this resource. Retrying with the same token will give the same 403. For 401: check that your token exists, is not expired, and has the correct format. For 403: check the user's roles, scopes, or resource ownership — re-authenticating will not help.
Format and read the complete response body — errors are often in nested fields. Validate against JSON Schema to find type mismatches. Check whether the API is paginating and the client only reads the first page. Check whether cached stale data is being returned. Reproduce the same request with cURL to rule out client-side transformation of the response. If the data is wrong even in cURL, the bug is in the API. If cURL returns correct data, the bug is in how your client processes the response.
Open DevTools Timing tab and check TTFB (Time to First Byte). High TTFB means server processing is slow — investigate database query time, external API calls, and missing caching. If TTFB is fast but total time is high, the response payload is large — investigate unnecessary fields in the response. For intermittent slowness, look for database connection pool exhaustion, GC pauses in Java applications, or upstream dependency timeouts. Use cURL with timing flags to measure independently of the browser.
18. LearnHubly API Debugging Tools
Each tool is designed to help at a specific step in the debugging workflow — not as a collection of unrelated tools, but as a coherent debugging environment.
Send requests with any method, headers, and body. Inspect status codes, response headers, and formatted body in one view.
Open →Format, validate, and inspect raw API response bodies. Makes type mismatches and structure problems instantly visible.
Open →Experiment with 30+ public APIs in the browser. Learn API patterns without setting up a local project.
Open →Decode and inspect JWT claims — check expiry, subject, issuer, and audience instantly.
Open →Every cURL flag with examples — auth headers, file uploads, timing, redirects, SSL. Copy-ready for terminal use.
Open →Debug Smarter, Not Harder — Use the Right Layer Every Time
The most expensive part of API debugging is not the time spent reading logs or running cURL commands. It is the time spent investigating the wrong layer. Changing your request body when the problem is a missing auth header. Refreshing a token when the problem is a 403 permission issue. Trying network fixes when the problem is in the JSON response structure.
The workflow in this article eliminates that wasted time by giving you a systematic path through each layer: status code → request → authentication → response body → schema → performance. Each layer either confirms the problem or points you to the next one. You stop guessing and start narrowing.
The tools make each step faster — but the workflow is what makes debugging systematic. Use both together. — Priya
Start Debugging Your API Right Now
Send requests, inspect responses, decode tokens, and validate JSON — all in the browser, nothing to install.